
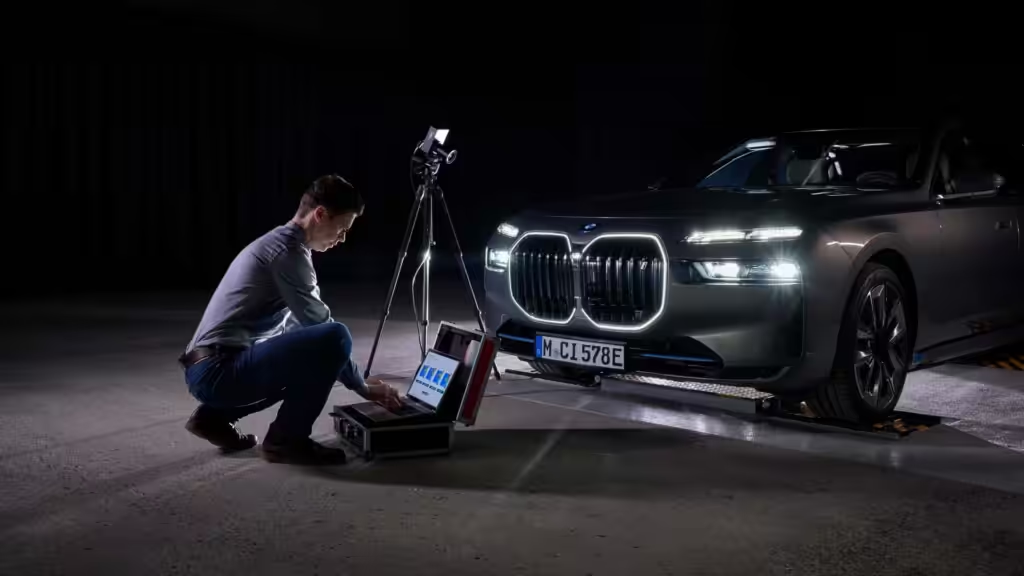
An LED headlight sample can look impressive for five minutes and still become a poor bulk-order decision. Startup brightness may hide thermal power reduction; a matching base may hide clearance problems; and a clean beam in one housing may produce glare in another. Buyers need repeatable evidence before inventory, packaging, and warranty costs begin.
This guide introduces a practical three-gate method: application fit, stabilized performance, and production readiness.
First, Define What “Pass” Means
Do not begin with the supplier’s catalog. Begin with a one-page requirement sheet for the intended application.
Record the bulb type, target headlamp, lamp function, voltage, rear space, dust-cover requirement, target color, decoder, market, and documents. Classify each requirement:
| Requirement type | Example | Decision rule |
|---|---|---|
| Critical | Locks correctly, no unsafe glare, no warning light | Any failure rejects the application |
| Performance | Stable hot output, useful beam width, color match | Compare with an agreed reference |
| Commercial | Branding, accessories, installation guide | Correct before order release |
This prevents high brightness from compensating for a critical failure. Use the original halogen source as an optical reference where relevant, then keep the approved LED unit and its data as the golden sample—a controlled reference, not the only unit tested.
Gate 1: Confirm Application Fit
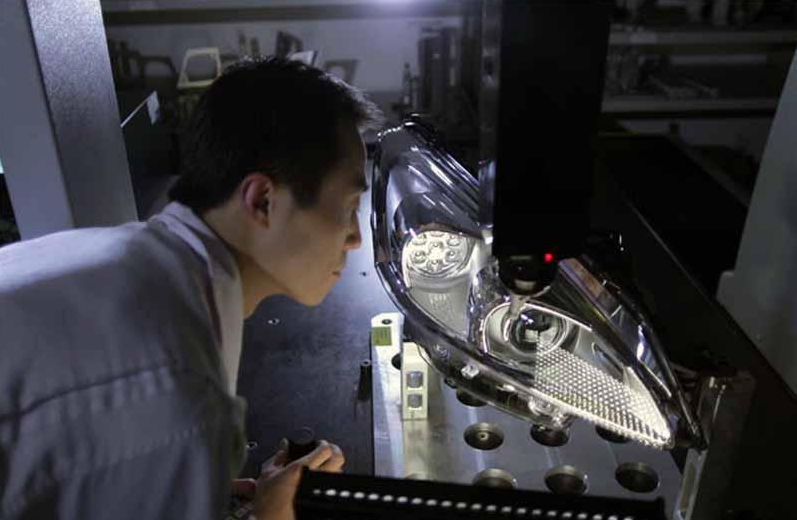
“H7” or “H11” describes a source category; it does not prove that every LED design will fit every vehicle using that category.
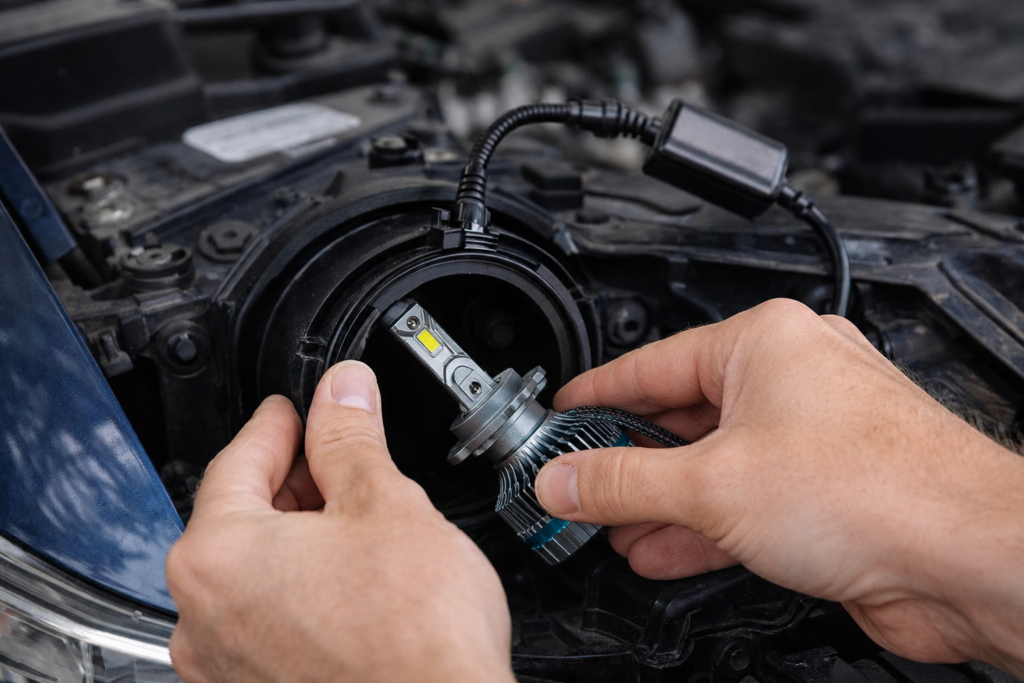
Install the sample in the target vehicle or a representative headlamp and check:
- Base engagement, locking force, and final LED orientation;
- Rear clearance around the fan or heat sink;
- Dust-cover closure, connector polarity, and cable routing;
- Retaining-clip or adapter-ring compatibility;
- Installation and removal access.
Remove and reinstall the bulb three times. A changing beam or rotational position indicates base tolerance, locking play, or installation sensitivity. Also test a left-right pair for color, beam position, fan sound, and startup behavior.
Gate 2: Measure the Light After It Gets Hot
Do not approve a sample from startup readings alone. Record electrical, optical, and thermal behavior on the same timeline.
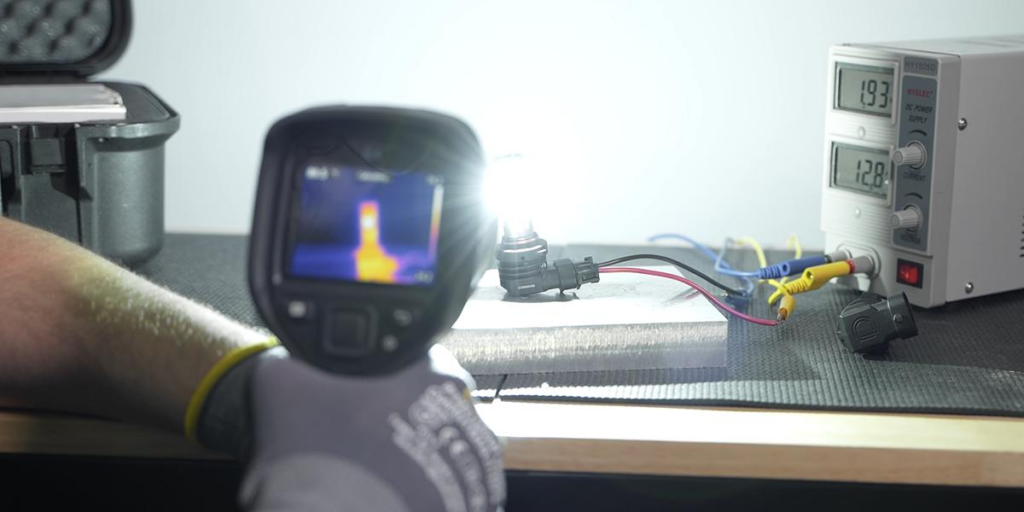
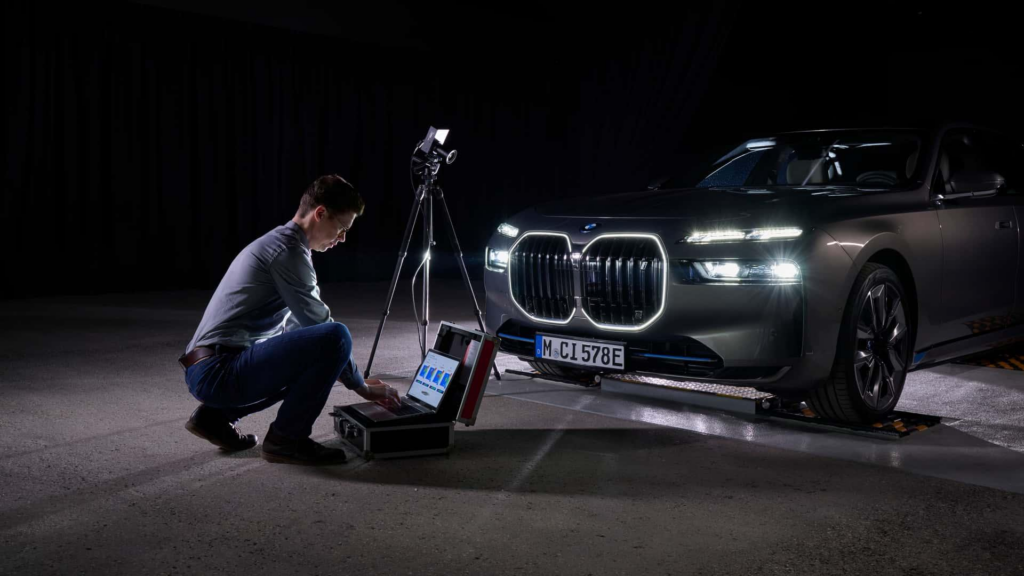
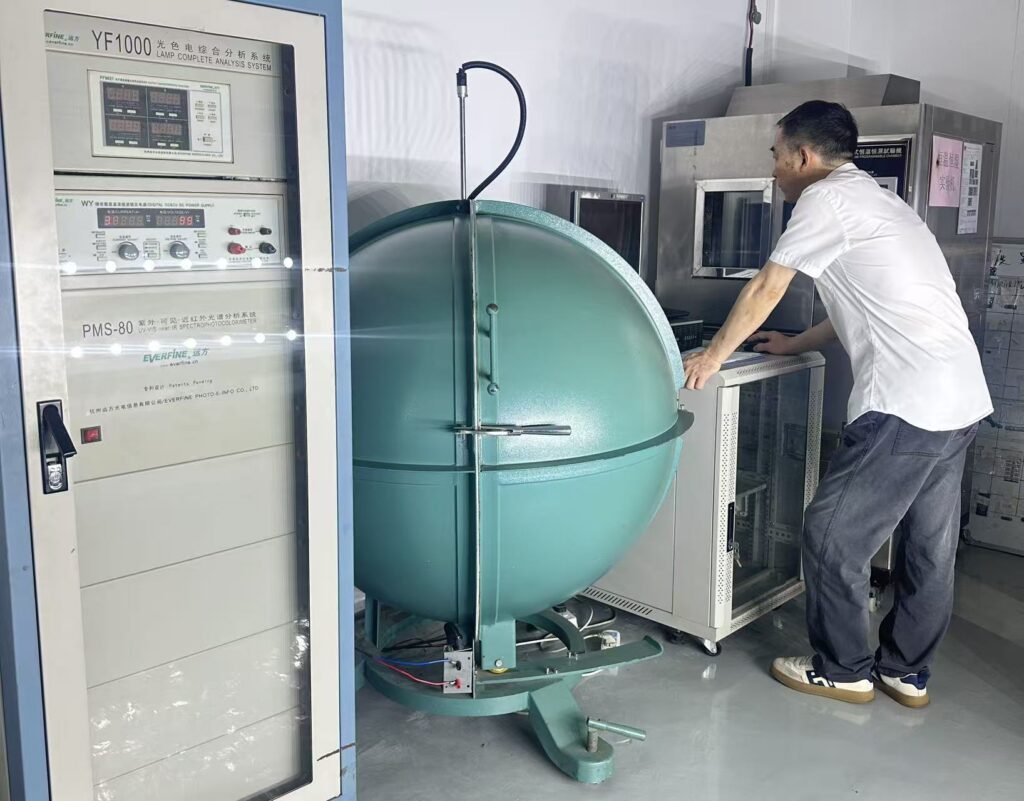
Log voltage, current, power, fixed-point lux, color temperature, and accessible case or heat-sink temperature at startup and fixed intervals until readings stabilize. Keep headlamp aim, sensor position, ambient condition, and airflow unchanged.
A useful comparison metric is stabilized-output retention:
Output retention (%) = stabilized lux ÷ initial lux × 100
This buyer comparison metric is not a regulatory limit. Agree on measurement points and acceptable change before comparing suppliers. A lower-output sample with better retention may deliver more consistent light during a long drive.
Next, measure a fixed grid covering the hot spot, left/right road coverage, foreground, and areas near or above the cutoff. Do not judge only the brightest point.
Regulatory photometry uses controlled voltage, distance, aim, and test points. For example, the NHTSA FMVSS 108 laboratory procedure uses 100 feet and 12.8 V for replaceable-bulb headlamps. A shorter buyer test does not establish compliance, but it should use the same principle: fixed conditions and defined measurement locations.
Test every representative reflector or projector family for which compatibility will be claimed. One housing cannot validate a universal application list.
Test Electrical and Vehicle Behavior Together
A bench supply shows basic driver behavior but cannot reproduce every vehicle diagnostic strategy. In the vehicle, check cold start, repeated switching, low/high beam, daytime-running-light mode, PWM dimming, auto lights, and engine-running voltage. Watch for flicker, warnings, delayed startup, radio interference, unstable switching, and excessive decoder temperature.
Document the exact year, make, model, trim, headlamp type, original bulb, lamp function, and any adapter or decoder used. Replace “CAN-bus ready” with a controlled fitment record. If a decoder is required, it becomes part of the approved system and must remain attached to the sample specification.
Gate 3: Decide Whether the Sample Can Become a Stable Product
A good prototype is not proof of repeatable production. Ask for a controlled bill of materials. Changes to the LED package or bin, PCB, driver, fan, thermal materials, base, connector, seals, or adhesives should require approval and relevant retesting.
Compare several units from the proposed production process, not one hand-selected sample. Three to five units can expose obvious spread during development, although this small set does not prove batch capability. Record each unit instead of averaging away an outlier.
Environmental claims need boundaries. An IP code classifies enclosure protection under defined conditions; see IEC 60529. An “IP68” claim should identify the tested configuration and report. It does not prove vibration life, condensation resistance, corrosion resistance, or vehicle fitment. For any environmental or aging claim, ask what was tested, under which conditions, with how many units, how failure was defined, and which checks were repeated afterward.
A lamp that still turns on may have shifted optically, lost output, developed fan noise, or begun to corrode.
Use a Decision Record, Not a Memory
Complete the evaluation with this sample-approval record:
| Record | What to save |
|---|---|
| Identification | Supplier, model, revision, date, serial or sample number |
| Application | Vehicle/headlamp, bulb position, adapters and decoder |
| Test conditions | Voltage, ambient temperature, distance, operating time |
| Results | Fitment photos, beam grid, cold/hot readings, fault observations |
| Decision | Pass, conditional pass, redesign, or reject |
| Change control | Parts and dimensions that require revalidation |
Use conditional pass only for a specific, owned, scheduled correction. Never postpone a beam, heat, or compatibility failure until after the purchase order.
Final Takeaway
An effective LED headlight sample evaluation answers three questions in order: Does it fit the intended application? Does it maintain a useful, controlled beam after stabilization? Can normal production reproduce the approved result?
This produces more information than catalog lumens or one golden sample, while creating a shared record for batch inspection and change control.
Review the Pulsys LED headlight range or submit your target vehicle, bulb type, market, and performance requirements to request a sample and application review.
FAQ
How many LED headlight samples should a buyer test?
Test a left-right pair at minimum. Three to five development units can reveal obvious variation; bulk inspection needs a separate risk-based plan.
Is a wall beam photo enough to approve a sample?
No. Fix the aim, voltage, distance, exposure, and grid; then measure defined zones before and after stabilization.
Does an IP68 claim prove that the bulb is suitable for every headlamp?
No. It applies to a defined enclosure test configuration, not fitment, condensation, corrosion, vibration, or optical performance.
When should a sample be retested?
Retest after any change that may affect optics, fitment, power, cooling, sealing, or compatibility—including the LED bin, PCB, base, driver, fan, thermal material, connector, or decoder.
Need to Approve an LED Headlight Sample?
Before committing to a bulk order, let us help you verify the fitment, beam performance, thermal stability, and vehicle compatibility of your target application.
Send us:
- Vehicle make, model and year
- Bulb type (H4, H7, H11, 9005, etc.)
- Headlamp type (reflector or projector)
- Target market
- Expected quantity
- Key performance requirements
We can recommend a suitable sample and work with you to identify potential fitment or performance issues before production.
Test the sample first. Order with confidence.